Basic Brayering
Today I thought I would do some basic one colour brayering, two different ways. The advantage of brayering is you can make a water colour look for a background that will match one of the focal points of your design. Because the colours match it will give good flow and continuity with your design.
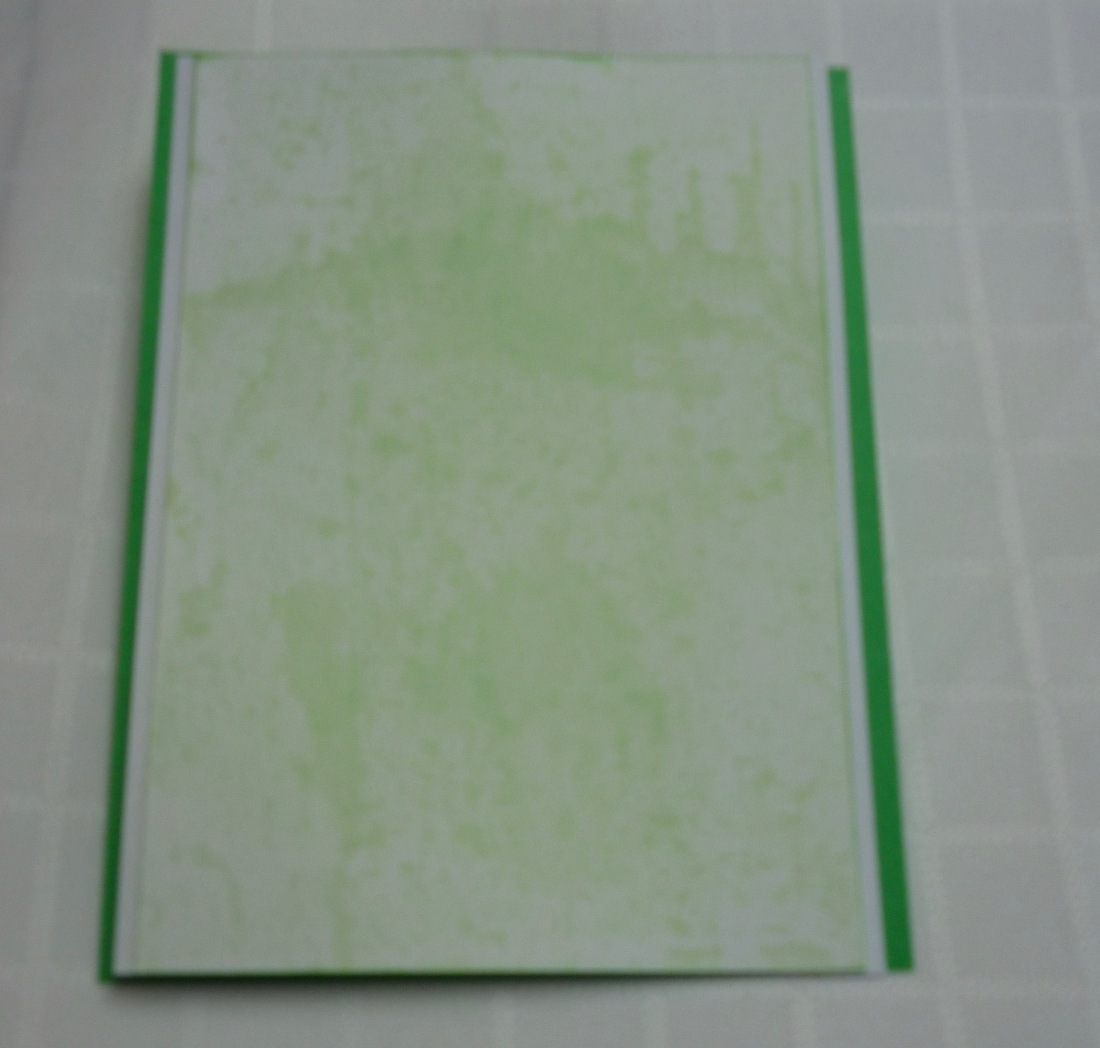
Finished card for this method of inking.
The first background I did was direct to paper coverage over the edges of the base. This gives a darker trim for the focal point of your design. It is the same colour but more concentrated and because the centre is covered we don’t need to colour it. Don’t forget to ink the edges of the card for a frame, with your ink pad. The frame keeps the design on the paper so it does not look like it is falling off.
First, the brayer I used looks like miniature paint roller, made with a hard plastic roller. I placed my ink onto a craft sheet and spritzed with water. The more water the lighter the colour. After the ink is ready, roll into the ink, one direction only, not back and forth. Pick the brayer up off the paper and return to where you started, then roll through again, until the roller is filled, then roll onto the paper, repeat until you are happy with the background.You can roll in different directions to get desired coverage. Remember white or negative space is good. I also put direct to paper with my ink pad around the edges, it gives a nice frame for the picture, which is the same colour but more concentrated. A simple but beautiful technique. Have fun, post some pictures so I can see your work as well.